In part two of our series on school gardens, we get down to brass tacks and show you how to get in the dirt and start digging.
Select a site
Once you have approval, it’s time to get serious about garden design. Start by choosing where the garden(s) will be located. Consider a number of factors, including whether the site is accessible to both students and teachers, has a nearby water source, gets enough exposure to sunlight (aim for a minimum of six hours of sun exposure each day), is large enough to allow for future growth, and has soil that is of good quality for growing flowers and vegetables.
Design the garden
Before planting anything, it’s important to think about what kind of garden you want to create, what size it will be, and how you will utilize that space. Start by deciding on a garden type: Will you plant directly in the soil, build raised beds, or plant in straw bales or containers? The site you select will help determine your options. Speaking with students, teachers and administrators should give you a good sense of which type of garden best suits everyone’s needs. If you feel a bit lost, it may be worthwhile to consult a professional. Once you’ve settled on a garden type, it’s advisable to draw up some garden designs. Ideally, you’ll want to solicit feedback from as many of the stakeholders as possible (think students, teachers, and administrators) in order to make sure that the design suits various needs. The sketch should include the dimensions as well as where the site is relative to water, equipment, compost, and so on. You’ll find yourself referring to this repeatedly as you decide what and where to plant. While you’re at it, start thinking about how you will tackle soil preparation, garden maintenance (such as weeding and watering), waste reduction (such as composting), and so on. Prepare a maintenance schedule and a list of reliable volunteers before putting the first plant in the ground.
Decide what to plant
In order to know what to plant, you need to understand your region’s growing zone. Start by consulting the USDA Plant Hardiness Zone map to learn which plants are suitable for your local climate. Also take into account the size, space requirements, and maintenance required to grow each plant. And don’t forget to consider the season in which you start the garden; certain plants grow best at certain times of the year. Once you create a list of location-appropriate plants, enlist student feedback to learn what they’re most excited to grow. You may also consider choosing plants based on a theme that connects to lessons taught in the classroom. Above all else, remember to start small when planning the first planting: You don’t want to overwhelm students or volunteers with a huge harvest or challenging maintenance needs.
Plan for each season in advance
No matter which plants you decide to grow, it’s wise to plan for each season well in advance of planting time. For example, it’s advisable to start planning your spring garden in January. After putting together a plan for the season’s plantings, decide whether to grow plants from seed or purchase starter plants. If growing from seed, remember that some plants need to be started indoors several weeks (and maybe even months) before they’re ready to be transplanted into an outdoor garden. If you’re operating on a small budget, it’s also helpful to think about potential budget-friendly resources. Can you send a letter home with students asking their parents to donate extra gardening tools and gloves? Could local farmers or local garden clubs donate seed packets or volunteer their expertise? Could local college students volunteer their time? There are all kinds of resources out there – the sooner you investigate these options, the better chance you can stay on budget.
Prep the soil
If you’re planting directly in existing soil, you need to prepare it for planting. This is assuming you already tested the soil and deemed it fit for gardening. If the soil hasn’t been planted in a long time – or ever – it’s probably best to till it; you can do so manually, or with rented or borrowed equipment. Just be careful not to over-till, which can compact the soil. (A good rule of thumb is to only till each row one time.) Be sure to till close to the day you plant so the soil is still broken up by the time you add plants. If you built new raised beds or container gardens, then add fresh soil before planting.
Learn from each season
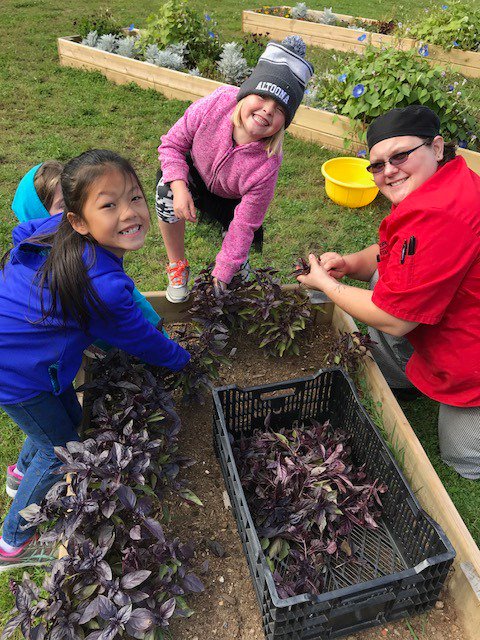
After all the planning is done, there’s nothing left to do, but get down in the dirt and plant. Then weed and tend to your garden. You may make mistakes along the way, and that’s okay – use them as valuable learning opportunities for students. Try to involve students in every stage, from designing the garden and preparing the soil to planting the first seeds (or starter plants) and harvesting the fruits of their labor. Involvement helps instill a sense of pride, responsibility, confidence, and investment. The more students, teachers and volunteers work in the garden, the more everybody can learn how to tend it so it stays healthy and produces food for years to come. While planning and caring for a school garden takes a lot of work, it’s also a lot of fun – and getting students engaged makes it all the more enjoyable. By approaching school gardening with an open mind and a spirit of natural wonder, you’ll model a great attitude for students and ensure gardening remains rewarding no matter what you harvest. Happy planting!